
Guide to shooting mushrooms and image stacking 3/10/2015
This weeks blog is a walk thought of how I got this shot, including the method of focus stacking I started to use as of last week on some of my shots.
Last weeks blog is still coming for those that are wondering what happened to it, Zenfolio the web site service I use for my web site has been having a few technical issue over the last week. The post is a walk thorough of the shots taken last week.
This week the walk through is a mushroom shot. Like most of my mushroom shots its taking in full daylight and under exposed and then light with two speedlites and in this case a small piece of aluminium kitchen foil as a small reflector.
This shot shows the set up.
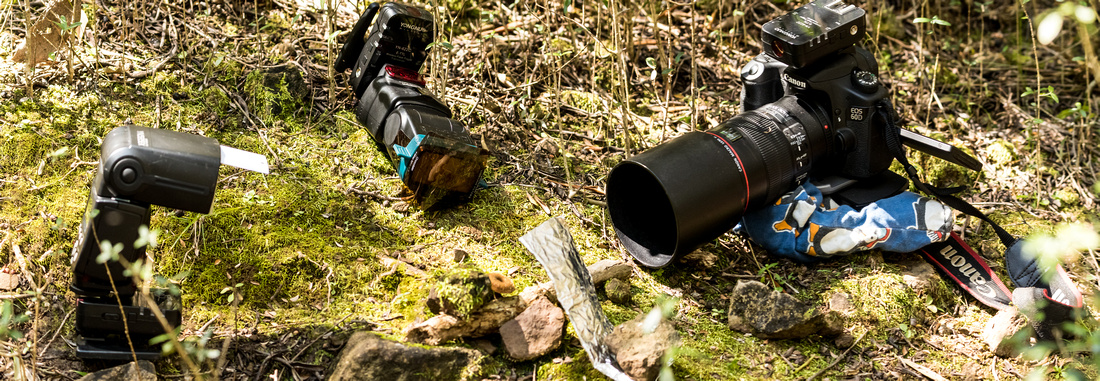

As usual I use one speedlite to add some rim lighting to give a bit of separation to the background and second light usually around 90 deg to the camera lens to fill in the details will adding some shadow to give better definition to any texture there. You can see how bright the setting is compared to the final shot below, mainly done in camera by under exposing and lighting just with the flashes on low power.
In this case the little mushroom is growing on a small stick so east to move around to get a better angle and in this case a better environment, the mushroom and stick were on a plain patch of ground but I moved them on to a nearby mossy patch of ground for the shots, (Also moved it back to where I found it when I had finished.
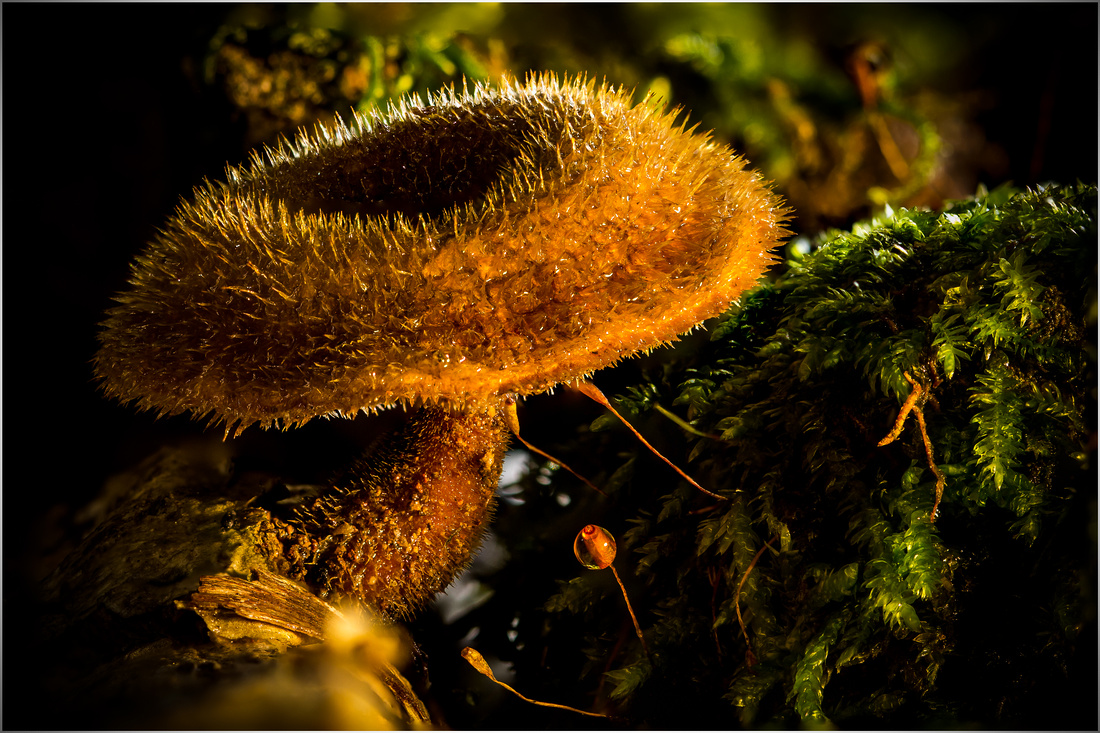
The Mushroom is a hardly little one this one its been around now for nearly a year and when the weather dries up like to day. 35 deg. C. it shrivels up. In this case I gave it a couple of sprays of water form a small spray bottle I carry and it expanded up and lifted its skirt to expose its gills.
From lightroom I do my normal edits on one of the shots in the stack, getting it as close to how I want it as possible. these are usually dropping the highlights a little, darkening the blacks sometimes increasing the shadow slider a fraction then adding clarity and contrast. I'll then add a little sharpening and noise reduction and then add a little bit of a post crop vignet to darken the corners, I'll then review the image and sometimes add in a couple of gradual filters to darken further some of the edges as required. Once all thats done I'll check the image again and maybe increase the exposure a fraction. depending if it needs in, I also use either the radial filter to high light the actual mushroom in areas that may need it or use the adjustment brush to darken some areas of the background that are drawing the attention.
Once one image is fully done I'll sync the adjustments to the rest of the series to be stacked.
From there go to the top menu bar and select Photo / Edit in / Open as layers in Photoshop
In the layers palet select the top layer and then shift click the bottom layer to select all layers.
Then in the top menu bar of Photoshop select Edit / Auto-align layers ….
From the pop up dialog box I select Auto and hit OK.
This will align any miss-alignment that may have occurred wither from the actual act of changing focus points or by accidently moving the camera when adjusting the focus.
This aligns all the layers so they are all in alignment it will most times result in the need for some cropping which I do when the image comes back into lightroom.
Next select Edit Auto-blend layers ….
Again a pop up box appears and by default its selected Sack images and the check box seamless tones and colours is checked.
This only takes about a minute to do so not long at all. It depends on how many layer (Stacked images you have) This Edit Auto-blend layers creates a layer mask for each area that’s in focus and removes the rest automatically. So very powerful and very effective.
I save the file and exit photoshop the file automatically appears back in light room where I crop the image to remove and issues from the alignment. I then make any final adjustments in lightroom and that’s it the finished image.
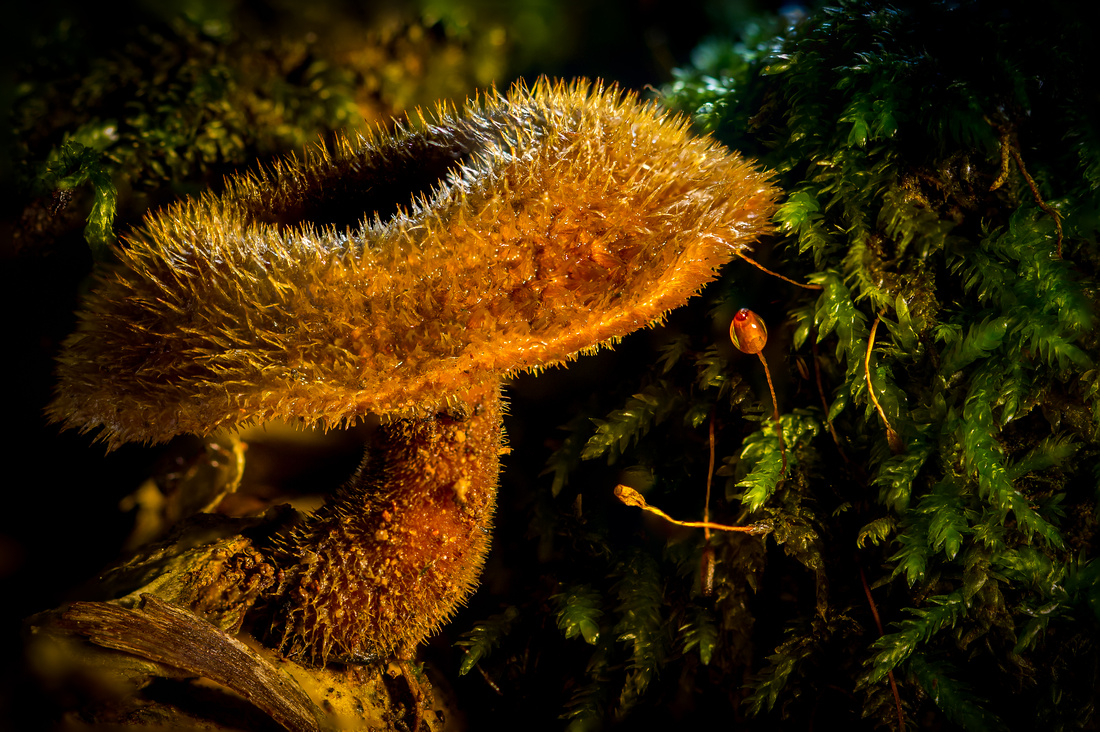
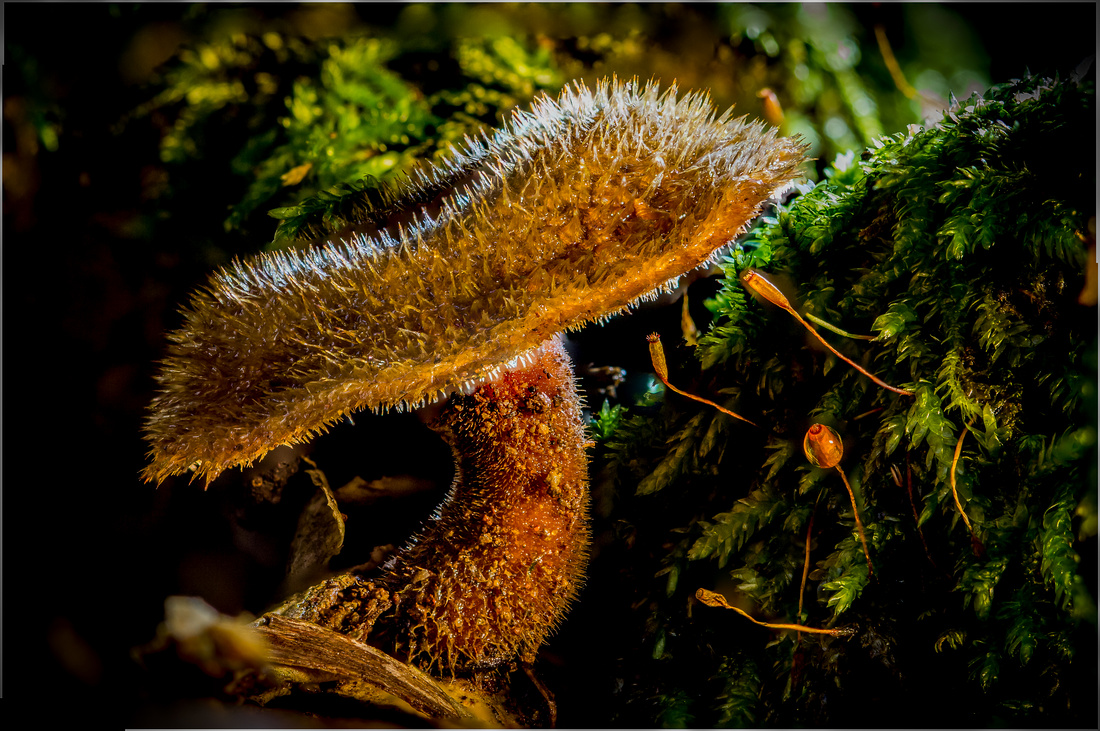
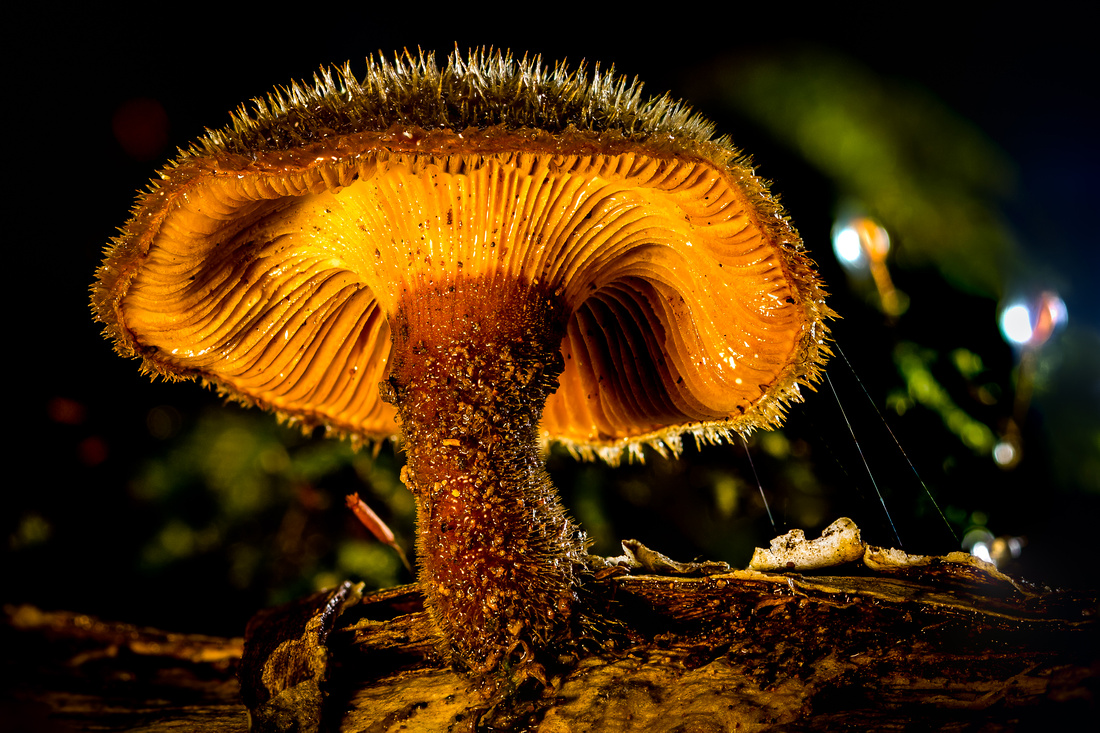
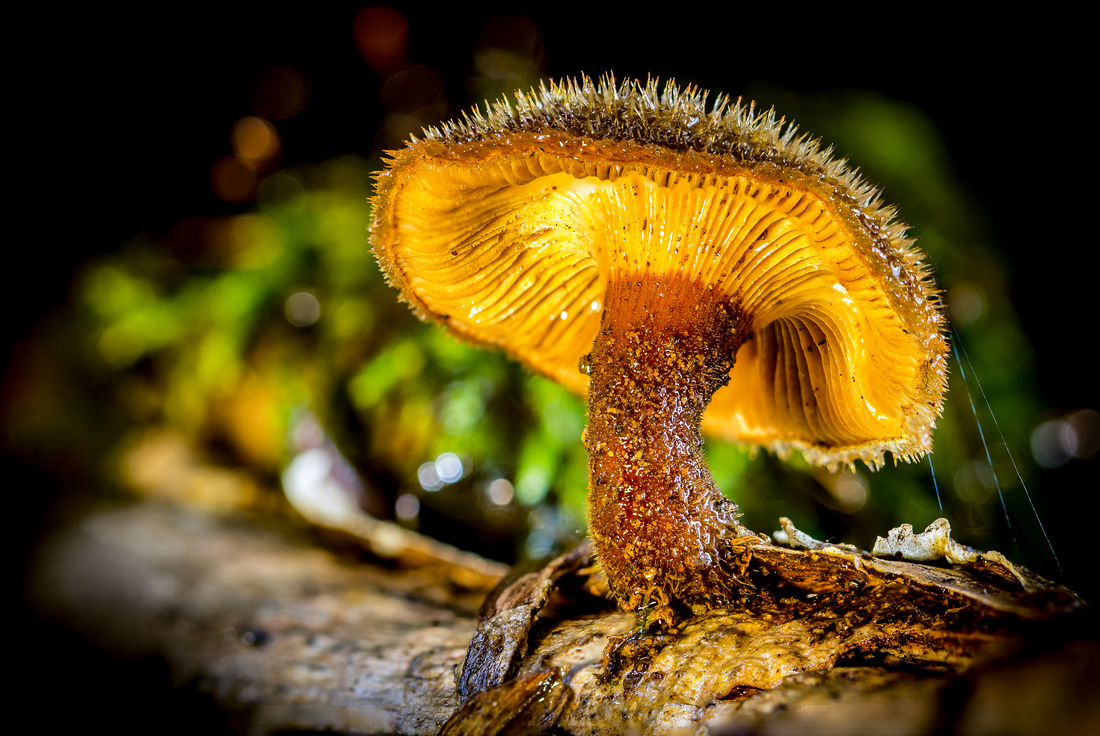
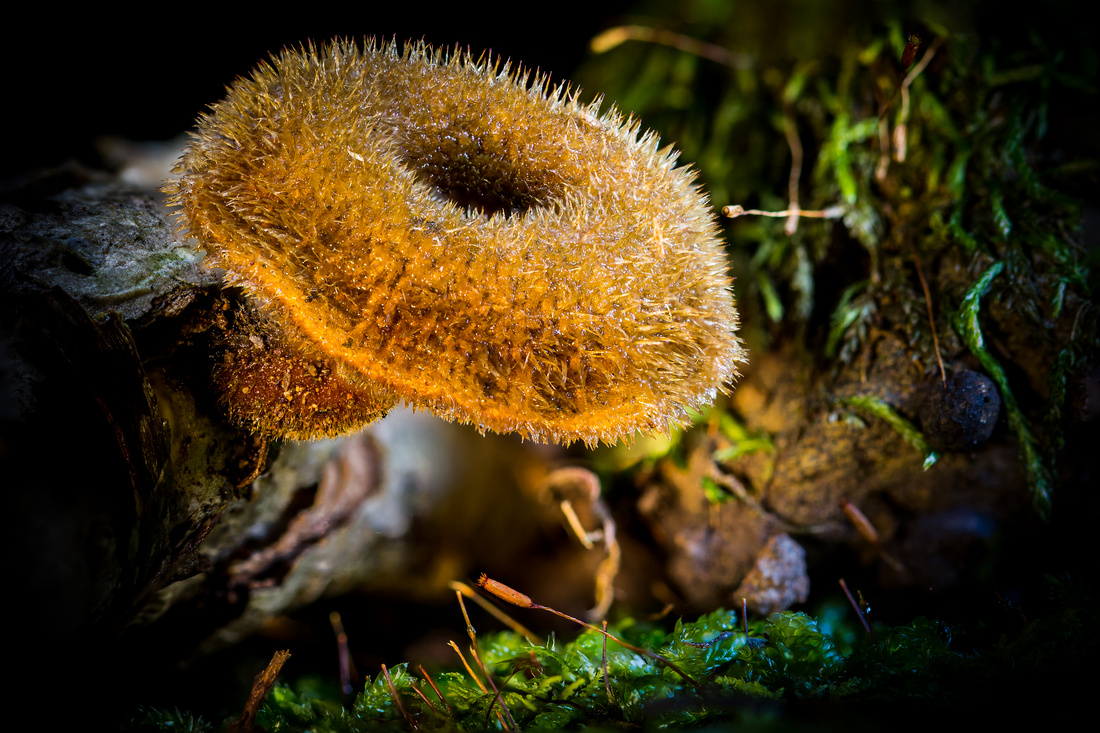
All up this week I created 7 stacked images of this mushroom in various angles and lighting configurations here’s the rest of the shots from the day. All slightly different. Most are around 10 images stacked together the one above is actual 21 images stacked.

Thanks for Dropping by my blog, hope this ones helpful to anyone interested in trying out stacking images, its pretty straight forward and not to difficult, but you do need both lightroom and Photoshop, which if you use the creative cloud and either the full version of just the photographers bundle which I use then you have them both to use.
Be back next week with more.
Glenn.
