
Astro-photography 15/03/2015
Astro-photography using the Sigma 150-600mm F5-6.3 DG OS HSM Sport
Something different today, Ive now had the Sigma 150 - 600 lens now for several weeks now, certainly loving this lens, I have it fitted to my Canon 7Dk2. The 7D is a crop sensor camera so in effect the 600mm is the equivalent of a 960mm focal length. I mainly use this for wildlife shots of birds but thought I’d give it a go at Astro photography as well and happy that I did. For my bird shots this lens is so sharp, and with the 7d’s high ISO with little noise I can up the shutter speeds to get some really nice shots, (See earlier blog posts here) So I thought I’d try the Astro photography and see how it went.
The first thing I tried was a new moon shot, and wow so much detail, I’ve shot the moon before with my canon 70-200 with 1.4 extender but nothing like this. The details in the creators was so sharp and the image only needed a small amount of cropping compared what I previously had to do.
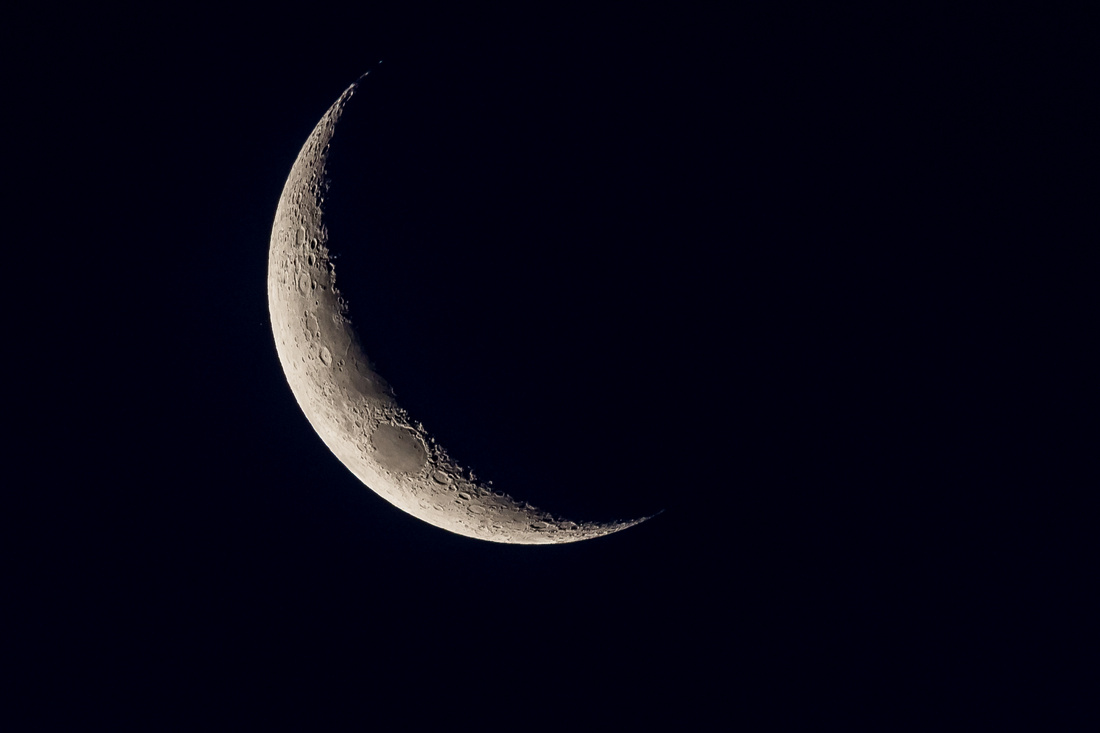

Over the rest of this month I took a few more shots of the moon as cloud cover permitted. One of the things I soon learnt was that as the moon became fuller only the only the area around the edge of the shadow really shows up the details of the creators.
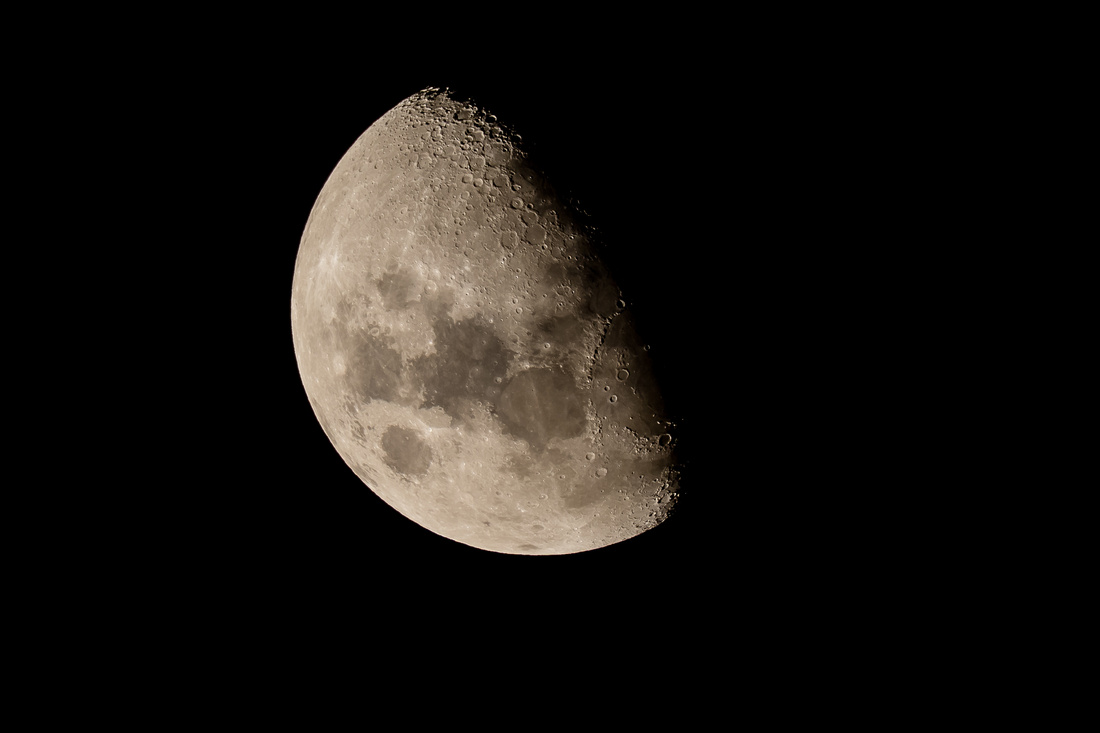

Heres a few of the other shots of the moon as it went thought its phases.
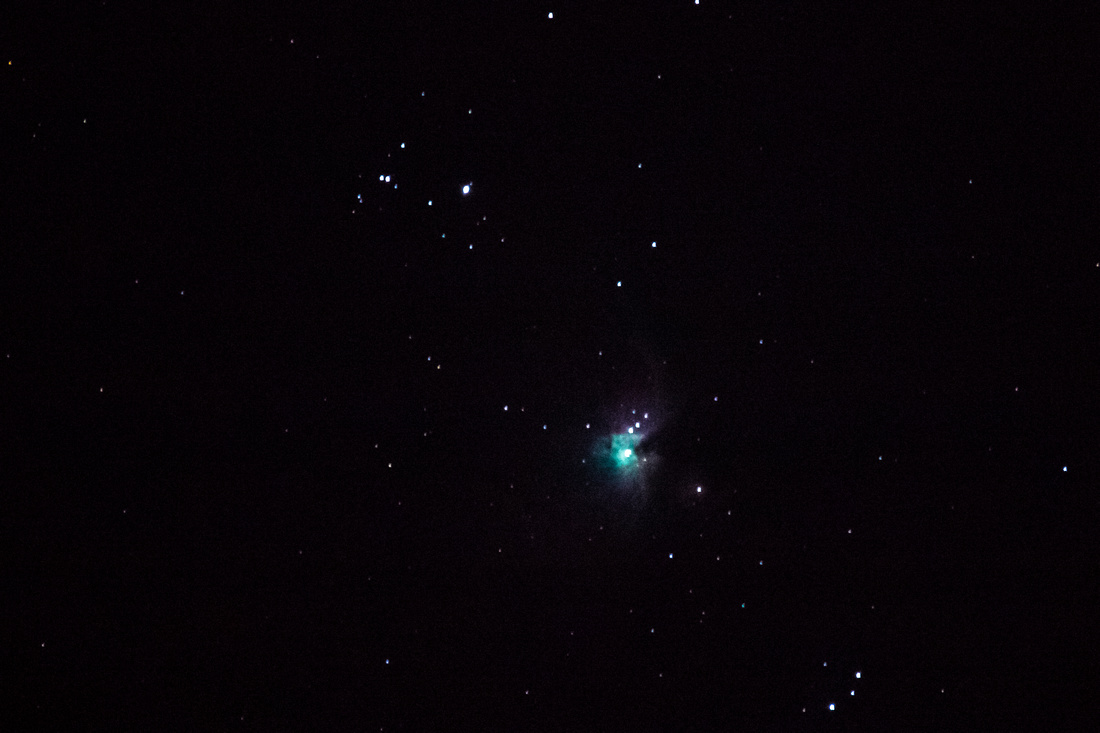
I then thought with this extra zoom I now have I should try for a few other items. Ive never seen a nebula other than photos in books and the web so thought I’d give one of those ago. I knew there was one int the Orion constellation but wasn’t sure exactly where other than in the middle of the trapezium. So I took a few shots around there and started to zoom in n the LCD screen to see what I found and then I found my first nebula. I’ve alway hear that when you see images on the web or books the images are always shot with filters and processed to add the colours, So was quite surprised to see some of the colours in this one.
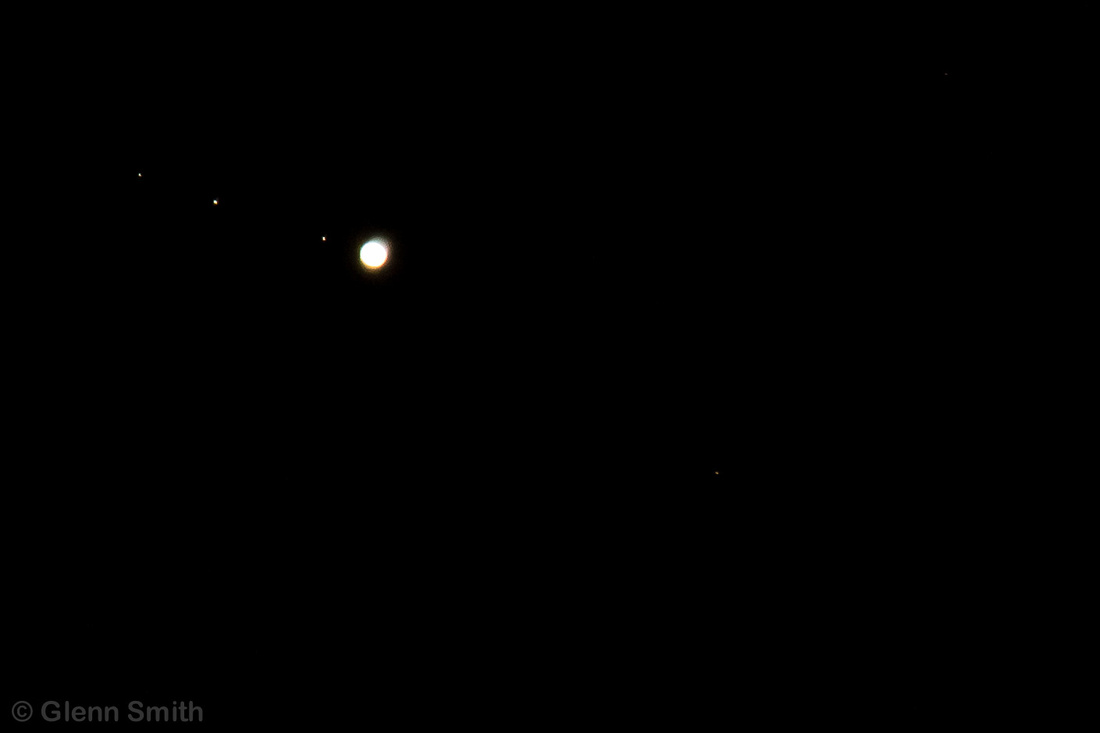
Lastly I tried a shot of Jupiter. From this shot you can even see three of the Galilean moons the fourth one was behind the planet at the time. Theres not enough detail to see any of the cloud belts there but the moons are clearly visible.
Presently Saturn is not visible at night from my location so in a few months time I’ll certainly give that a go as well. Looking forward to that now.
So a few pointers on how I got these shots. at 600mm max length any movement is greatly magnified so you’ll need a really strong and steady tripod. I set ll these shots with live view and magnified to the 10x to get the best magnification. I focused using auto focus and then manually focused as best I could to get a star to a single point. not an easy trick with it bouncing around due to the movement from hand contact. Once focused I set eh ISO to 800 Aperture to f8 and shutter speed to 1/80 sec for the first moon shot. I triggered the shutter for a wireless remote so as to have no contact with the camera. Before I triggered the shutter I waited fro the image to steady down in the live view screen. It takes quite a few seconds for this to happen so not a fast process.
The Nebula shot the settings were ISO 8000 aperture of f6.3 wide open in this case and the shutter speed of 0.8 sec, and even at this speed there is starting to show some start trails, so ideally the shutter speed needs to be a little faster.
So far I’m using a lot of trial and error with my shots seeing what works best.
Once the shots are taken I bring them into lightroom, fro the moon shot I addict eh white balance to get a realistic colour and then boost up the clarity and contracts till I get an image I like with the details, One thing that was needed was to use lightrooms Lens correction panel and click the remove chromatic aberration this gets rid of some of the issues around the edge of the moon, Other than that I cropped the image to a pleasing image to me and also in adjusted the black, white shadows and highlights sliders to suit.
The nebula image I increased the vibrance and saturation sliders to bring out the colours and increased the clarity slider small changes were made to the other basic sliders Blacks, whites shadows and highlights but not to much there. This image was also cropped but not to much.
Again these images are not the Hubble but for a Camera and lens shots I’m very happy with these shots. I’ll be taking more of these over the coming months, but so far very happy with this lens camera combination.
Hope this helps.
Thanks for dropping by.
Glenn.
